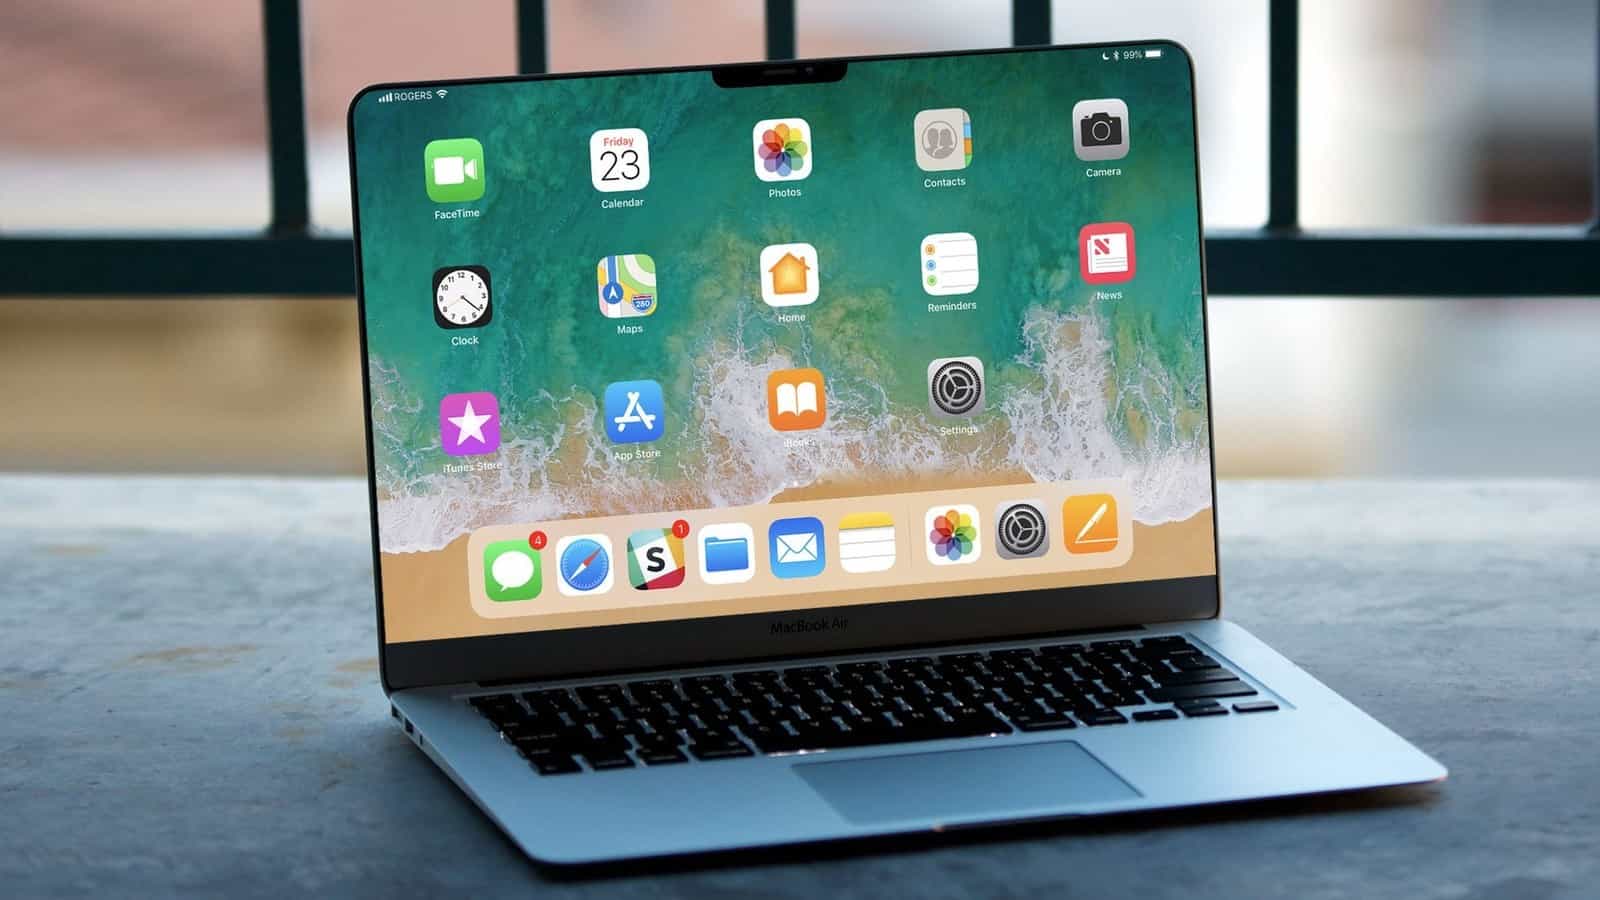
Taking a screenshot is a handy way to capture a moment on your Mac screen. Whether you want to save an important document, a funny meme, or a memorable conversation, it’s easy to do with just a few clicks. In this article, we will walk you through the steps to take a screenshot on a Mac.
Step 1: Decide which type of screenshot you want to take
There are three types of screenshots you can take on a Mac:
Full screenshot: captures everything on the screen
Selected screenshot: captures only a portion of the screen
Window screenshot: captures only the active window
Step 2: Take a full screenshot
If you want to take a screenshot of the entire screen, follow these steps:
Press the Command + Shift + 3 keys at the same time.
You will hear a camera shutter sound, and the screenshot will be saved to your desktop as a .png file.
Step 3: Take a selected screenshot
If you want to take a screenshot of a specific part of the screen, follow these steps:
- Press the Command + Shift + 4 keys at the same time.
- Your cursor will turn into a crosshair icon.
- Click and drag the crosshair to select the portion of the screen you want to capture.
- Release the mouse button to take the screenshot.
You will hear a camera shutter sound, and the screenshot will be saved to your desktop as a .png file.
Step 4: Take a window screenshot
If you want to take a screenshot of a specific window, follow these steps:
- Click the window you want to capture to make it active.
- Press the Command + Shift + 4 keys at the same time.
- Your cursor will turn into a crosshair icon.
- Press the Spacebar key.
- Your cursor will turn into a camera icon.
- Click on the window you want to capture.
You will hear a camera shutter sound, and the screenshot will be saved to your desktop as a .png file.
Step 5: Find and use your screenshots
Once you have taken a screenshot, it will be saved to your desktop as a .png file with a name in the format of “Screen Shot [date] at [time].png”. You can open the file by double-clicking it or dragging it to an application that supports .png files. Some common applications that can open .png files include Preview, Photoshop, and Microsoft Word.
Conclusion
Taking a screenshot on a Mac is a simple process that can be done in just a few clicks. Whether you want to capture the entire screen, a selected portion of it, or a specific window, it’s easy to do with the right keystrokes. Once you have your screenshot, you can find it on your desktop and open it in an application that supports .png files. With this guide, you should be able to take a screenshot on your Mac with ease.
Zeeshan is a seasoned tech expert and senior writer at Teckrr.com. With over 10 years of experience in tech journalism, he brings insightful analysis and up-to-date information on the latest tech trends. Zeeshan holds a MBA degree from Business and Tech University and is known for his engaging writing style and ability to demystify complex tech topics. Stay connected with the cutting-edge of technology through his expert lens.

Leave a Reply